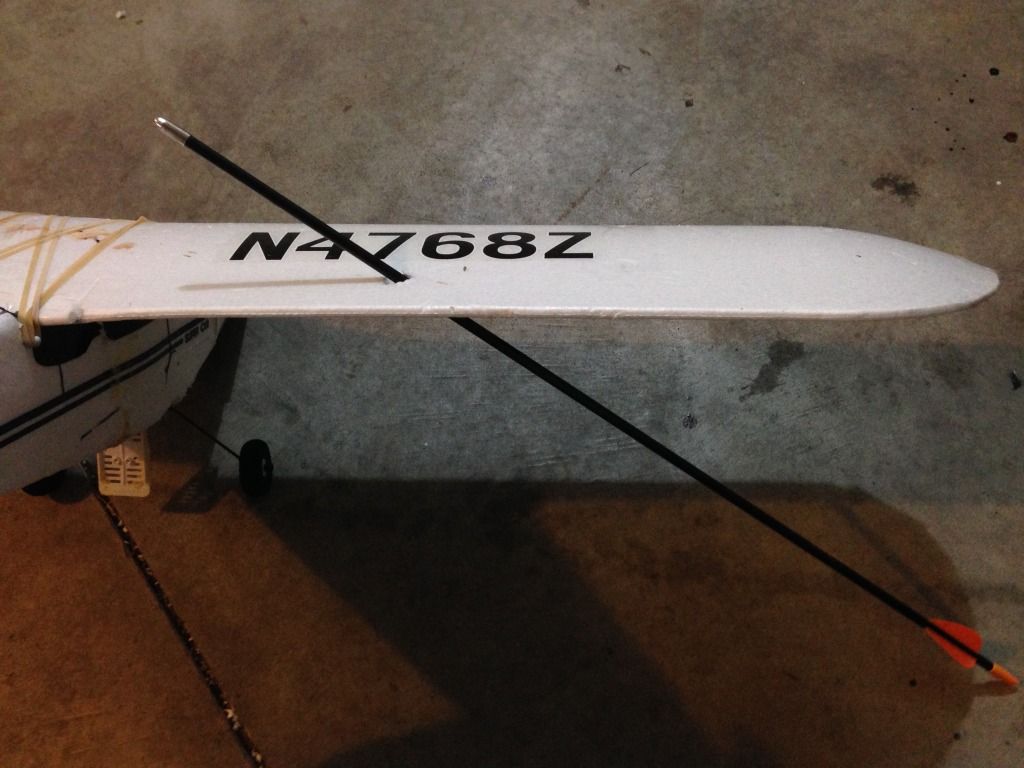
Post by gaximus on Aug 23, 2013 6:13:53 GMT 1
I'm new to flying, and had some issues with the struts, I broke them in a crash. I decided to make my own out of some jewelry wire. They worked good, but I didn't adjust the tension correctly and was getting some really bad flight characteristics. After several more crashes, when they broke again, I said screw it and flew it without any struts at all, and it flew so much better.
After joining this awesome site, and reading some posts about strengthening the wing and flying without any struts I decided to do this too.
Earlier today I decided to fly a few easy flights without the struts and before the strengthening. I was just doing touch-n-goes and doing really good, So I decided to try landing from the left. I nailed a light pole that I was sure I would clear. It broke my wing into two pieces.
Here is what I did to reinforce the wing. First I glued the two pieces back together using hot glue.
I got a few pieces of 3/8"*3/8"*24" pieces of bass wood from hobby lobby.
I had found the balancing point under the wings, by using a couple of ink pens and balancing the entire craft on the points. The point were a about 2 inches back from the leading edge of the wing and an inch from the fuselage. I used the points to balance it after I adding cameras to it. I laid the wooden rods down and went right over the balancing points and traced them with a pen.
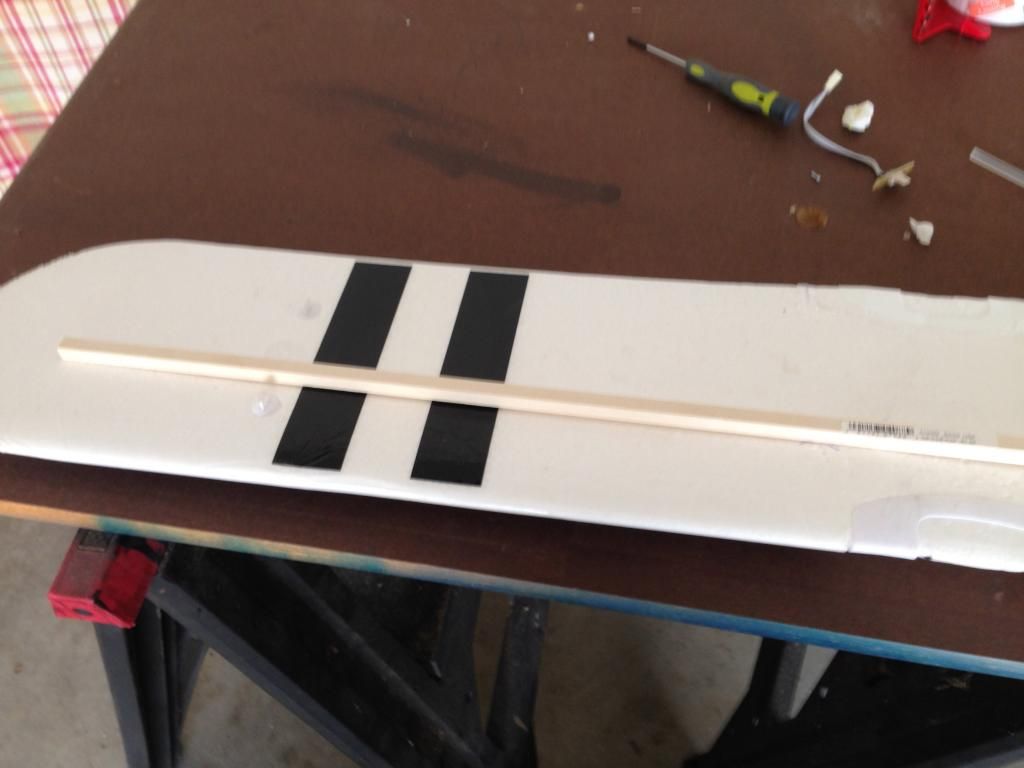
Photo 1: laying the stick out to trace it, Sorry this photo is not clear.
I used a razor blade to cut out a square grove that went from about 3" from the tip through the middle and out to the other tip. I cut both sides of the groove first then cut at a steep angle to cut out a triangle shaped piece. I then used the square rod to "scrape" out the rest of the groove, this part gets messy.
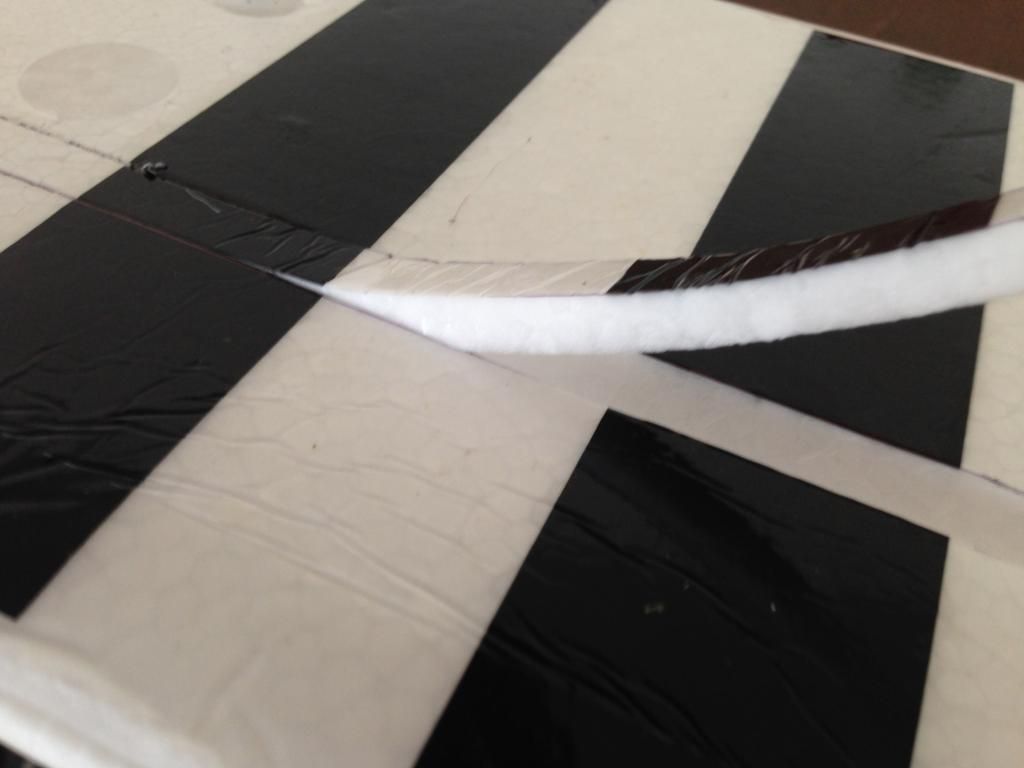
Photo 2: Pulling out the triangle shaped piece.

Photo 3: Using the rod to scrape out the rest of the groove.
I then placed the rod in the groove. Do to the dihedral of the wing the rod come out of the wing at the middle. I traced a line on rod where it needed to be cut, then cut one the line using a hack saw(I didn't want to loose the dihedral because I never plan on going with ailerons) Then I did the same thing with the right side of the wing, making sure to line them up.
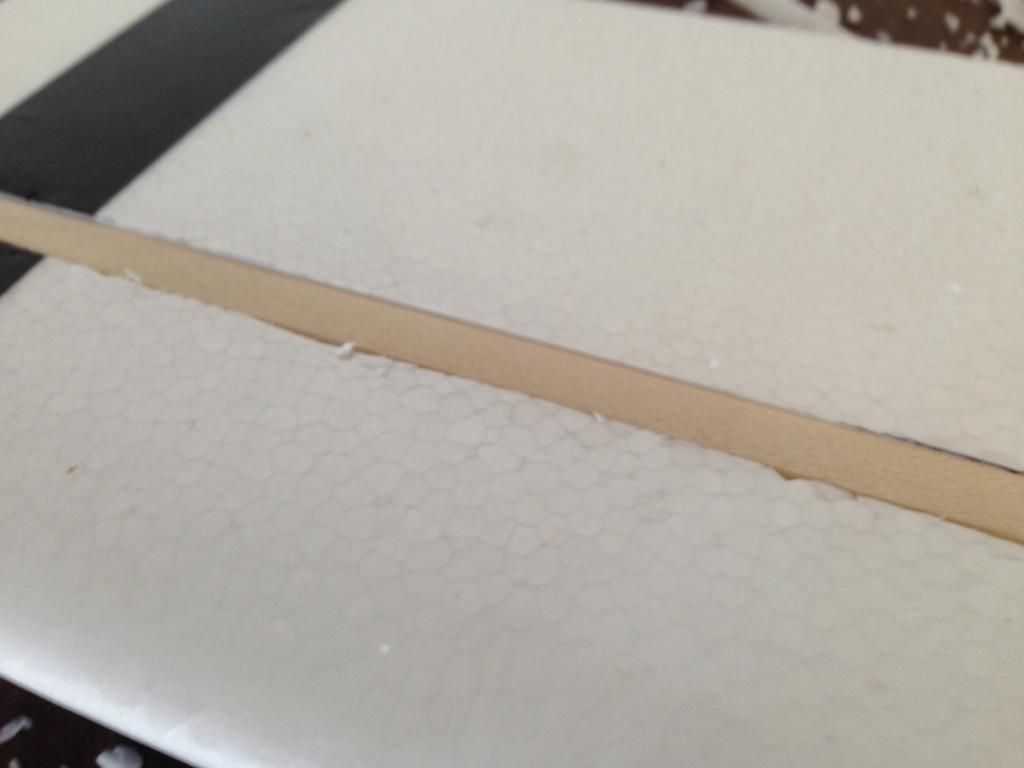
Photo 4: Placing the rod in the wing

Photo 5: Where the rod sticks out, and needs to be cut.
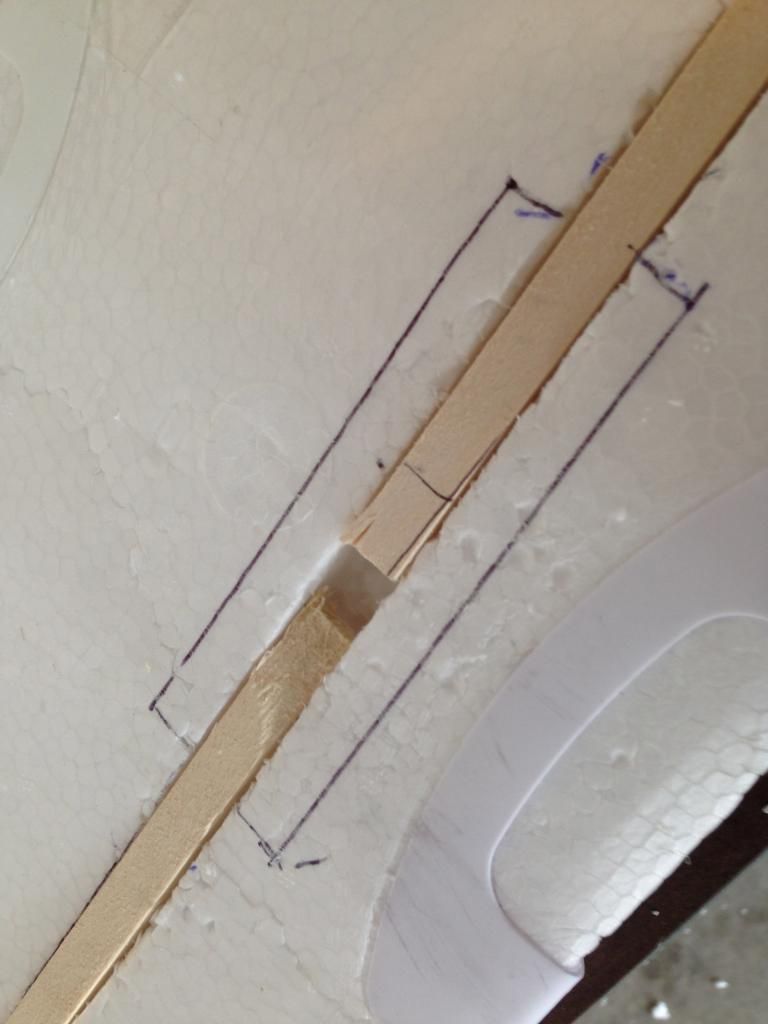
Photo 6: Right and left side rods in place right side not cut yet.
I then placed smaller rods next to the left and right rods and traced them to be cut out(See Photo 6).
I cut them out and Placed the smaller rods next to the right and left rod.
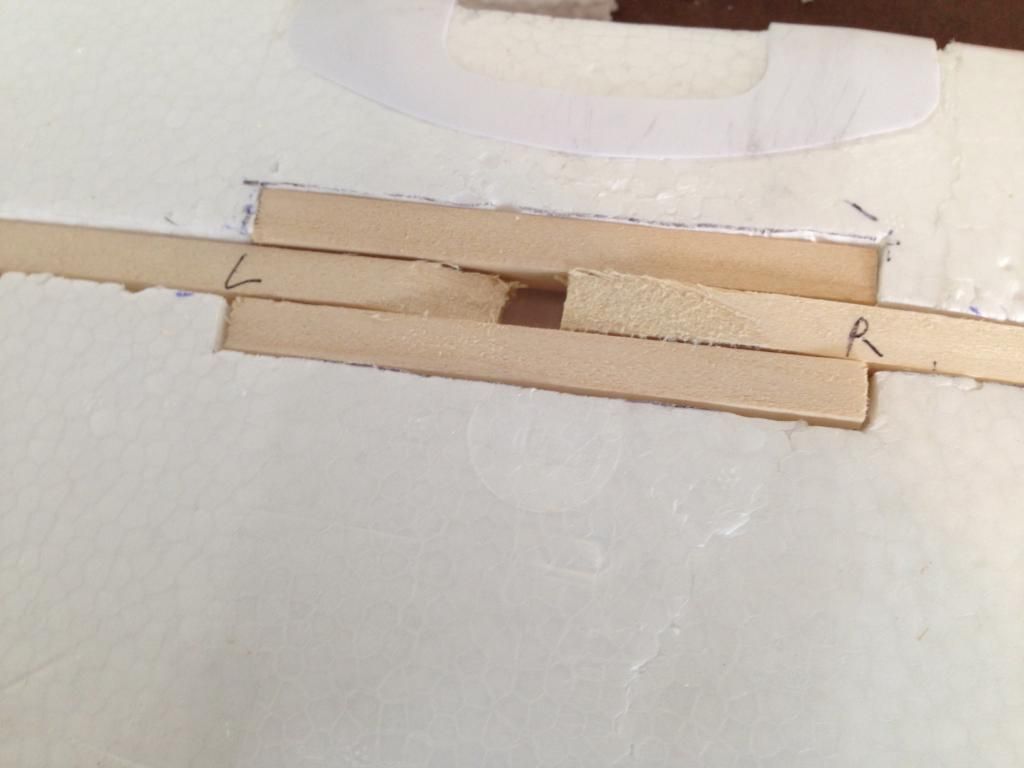
Photo 7: Right and left rods cut and small rods connecting them.
I then placed a heavy bead of gorilla glue in the grooves and a light coating on the sides of all the rods. I pushed in the left and right rods with the glue then put the shorter rods next to them. I filled any gaps with gorilla glue.

Photo 8: Close up of the glued parts.

Photo 9: Whole wing finished.
I then waited for the glue to dry and cut off the excess. Then placed a piece of packing taping covering the whole groove.
I will do a test flight tomorrow and update how it flies. I wish I had used 3 sided aluminum channels instead of the wooden rods, the weight would be close to the same, but I could use the opening to route wires for wing tip lights.
After joining this awesome site, and reading some posts about strengthening the wing and flying without any struts I decided to do this too.
Earlier today I decided to fly a few easy flights without the struts and before the strengthening. I was just doing touch-n-goes and doing really good, So I decided to try landing from the left. I nailed a light pole that I was sure I would clear. It broke my wing into two pieces.
Here is what I did to reinforce the wing. First I glued the two pieces back together using hot glue.
I got a few pieces of 3/8"*3/8"*24" pieces of bass wood from hobby lobby.
I had found the balancing point under the wings, by using a couple of ink pens and balancing the entire craft on the points. The point were a about 2 inches back from the leading edge of the wing and an inch from the fuselage. I used the points to balance it after I adding cameras to it. I laid the wooden rods down and went right over the balancing points and traced them with a pen.

Photo 1: laying the stick out to trace it, Sorry this photo is not clear.
I used a razor blade to cut out a square grove that went from about 3" from the tip through the middle and out to the other tip. I cut both sides of the groove first then cut at a steep angle to cut out a triangle shaped piece. I then used the square rod to "scrape" out the rest of the groove, this part gets messy.

Photo 2: Pulling out the triangle shaped piece.

Photo 3: Using the rod to scrape out the rest of the groove.
I then placed the rod in the groove. Do to the dihedral of the wing the rod come out of the wing at the middle. I traced a line on rod where it needed to be cut, then cut one the line using a hack saw(I didn't want to loose the dihedral because I never plan on going with ailerons) Then I did the same thing with the right side of the wing, making sure to line them up.

Photo 4: Placing the rod in the wing

Photo 5: Where the rod sticks out, and needs to be cut.

Photo 6: Right and left side rods in place right side not cut yet.
I then placed smaller rods next to the left and right rods and traced them to be cut out(See Photo 6).
I cut them out and Placed the smaller rods next to the right and left rod.

Photo 7: Right and left rods cut and small rods connecting them.
I then placed a heavy bead of gorilla glue in the grooves and a light coating on the sides of all the rods. I pushed in the left and right rods with the glue then put the shorter rods next to them. I filled any gaps with gorilla glue.

Photo 8: Close up of the glued parts.

Photo 9: Whole wing finished.
I then waited for the glue to dry and cut off the excess. Then placed a piece of packing taping covering the whole groove.
I will do a test flight tomorrow and update how it flies. I wish I had used 3 sided aluminum channels instead of the wooden rods, the weight would be close to the same, but I could use the opening to route wires for wing tip lights.


