Post by Dillzio on May 3, 2013 16:41:10 GMT 1
Hi gang,
I thought I'd throw together a quick tutorial on how to turn a computer power supply into a 12vDC power supply for a battery charger. While cheap power supplies can be obtained from ebay for 10 or 15 bucks, if you want much more than 7a then you have to buy a proper power supply. Computer power supplies can be a good alternative to this, particularly if you happen to have a spare one laying around. I purchased one specifically to power my Turnigy 400w battery charger, and it still worked out to be much cheaper than buying a suitable power supply from hobbyking which would cost $90 for item + postage. Also, if you're into electronics as a hobby it's a bit of fun too.
There are plenty of detailed tutorials and videos online so I won't go into to much detail, but I'll give a quick rundown of how to replicate what I've done.
The power supply I used was a cooler power gx700, they're on ebay for about $55 and . I'd recommend this one because i know it has functioning short circuit and overload protection, unlike the first PSU i tried this with that died when I drew too much power through it. The GX700 puts out 12v at 24a down each of it's two rails, so 48a in total. However, I've read that when you tie rails together you only get about 80% of the sum of the two inputs, so it should be good for up to about 38 amps, which it can put at at about 11.5v (voltage sags a bit under load) so that's about 430watts.
You start by connecting most of the yellow wires together (leave 2 or 3 spare) and that will serve as your 12v+ line (even though 6 wires is plenty to carry all the current you will need, you need to use the majority of them because your PSU will probably have multiple rails, and you want your power usage to be balanced over all of them to get the maximum output from your power supply).
Connect 6 black wires together (6 should be ample) and that will be your 12v negative line. Put whatever power connectors you prefer on them, banana are conventionally used for power supplies but I went with XT60s.
The main trick to turning a computer power supply into a functional battery charger power supply is knowing to put the 5v line under load as well. The power supply doesn't put out full power all the time, the power output is regulated by a microprocessor that detects how much current is being drawn down the 5v line. The more power gets drawn, the more it boots the power output. If you try drawing much more than a couple of amps from the 12v line with nothing hooked up the the 5v the psu gets overloaded and the voltage drops really low, giving you the low input voltage error message on your charger.
Many people get around this by putting a resistor or a light bulb on the 5v line, but I actually used an array of two 50w 1.5 ohm resistors to give me an adjustable power draw on the 5v line. This is the circuit diagram I used here:
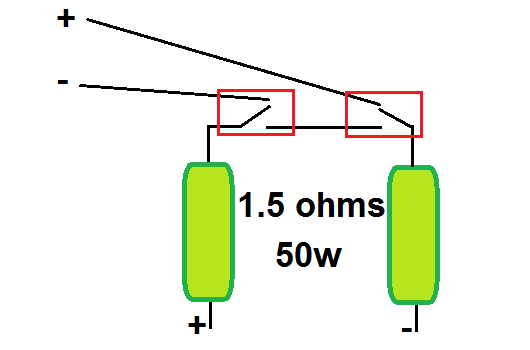
When both switches are in the down position, the two resistors are connected in series, giving 3ohm resistance drawing 5v/3a=1.6a (8w) from the 5v line.
With one switch up, one resistor is connected directly to the 5v + and - terminals, giving 1.5ohms resistance drawing 5v/1.5=3.33a(16w) from the 5v line.
With both switches up, both resistors are connected directly to the 5v + and - terminals (in parallel), giving 0.75 ohms resistance drawing 5v/.75a=6.66amps (33w).
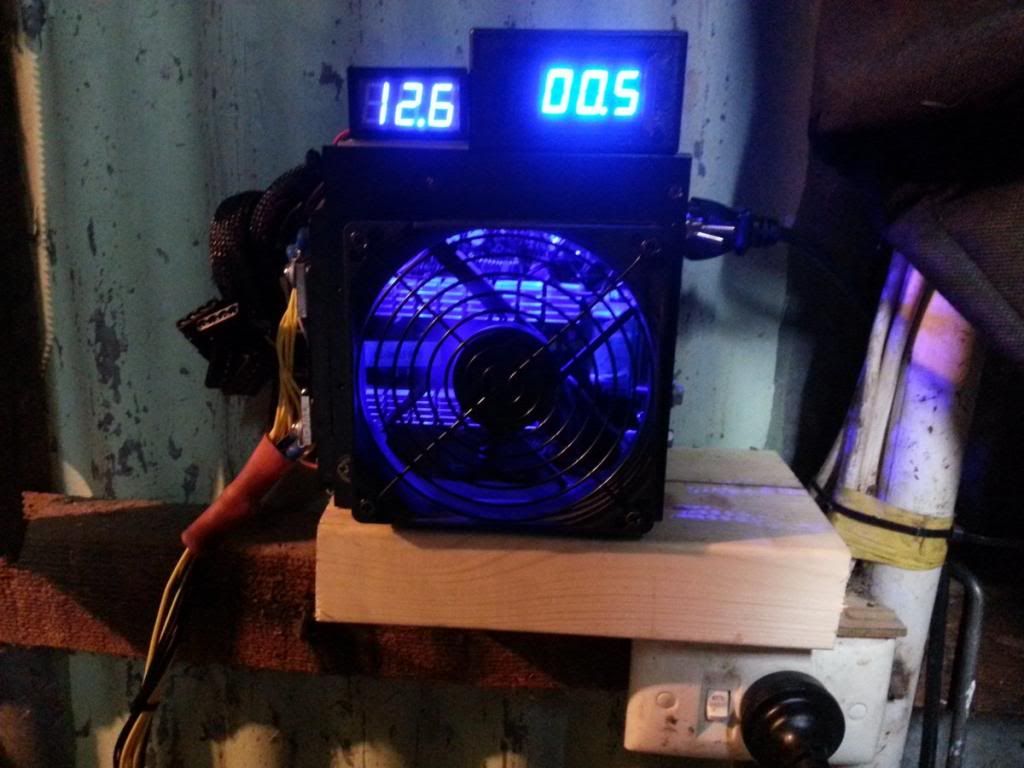
From the testing I did, I found .75ohms a good value to enable the PSU to get pretty close to maximum power output. Using two 1 ohm reistors may have been a better alternative for maximum power output, but I wanted to try to minimise how much power my unit would use if I left it on. Depending how much charge I'm drawing from it, I can adjust the switches to change the power draw on the 5v line and regulate the power output manually. I've even added a voltimeter and ampmeter I got off ebay so I can see what the power output is in real time. I haven't tried it yet, but since the PSU puts out the same voltage as a 3S battery I should be able to test my 3S planes with this PSU and get a readout of how many amps they're drawing.
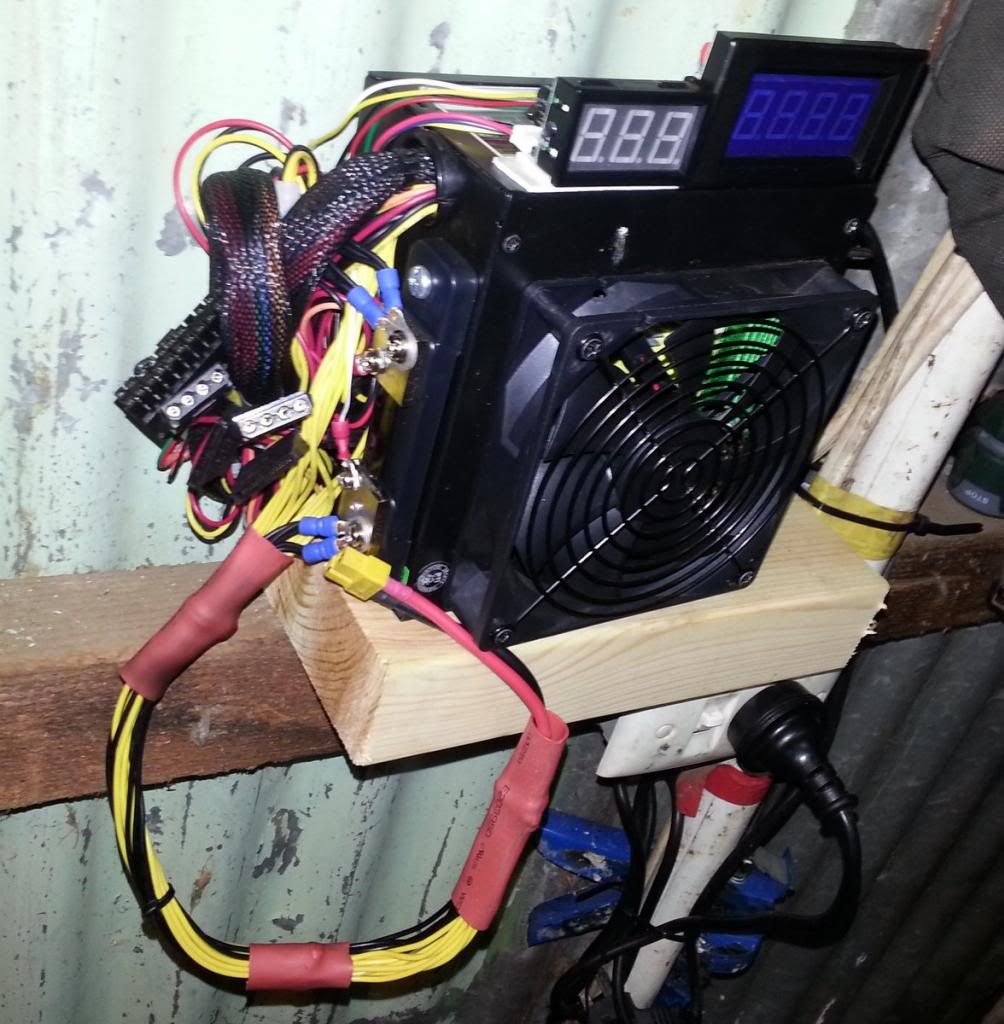
There isn't much room inside the case with the fan in there, so you can move it to the outside to give you some spare room in there for the resistors. Of course, with my cool blue theme going and a readily available source of 12v power, I had to put one of my blue LED light strips in there as well, just to make it look awesome.
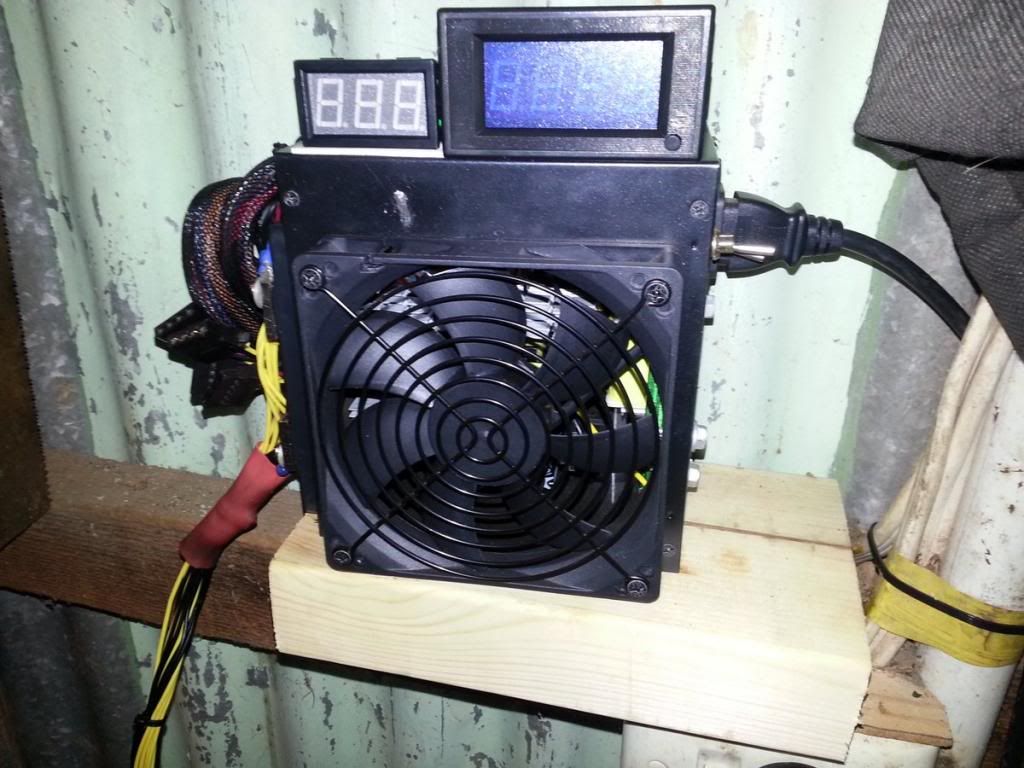
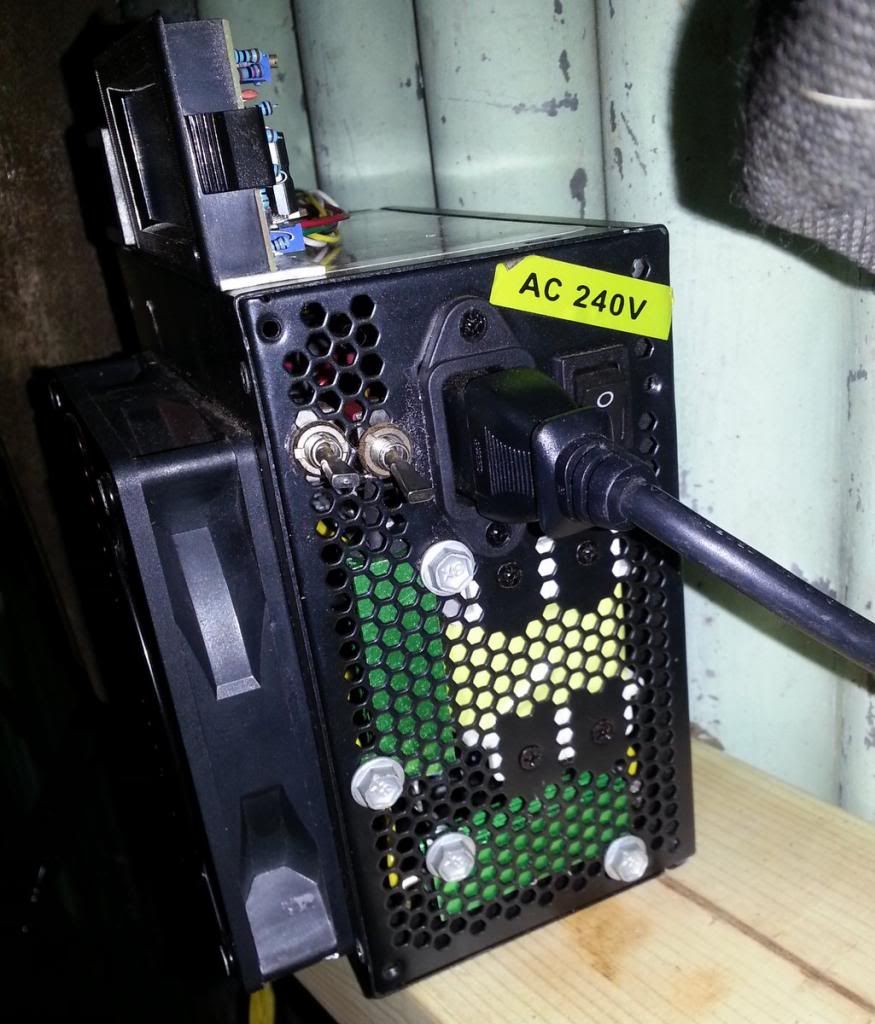
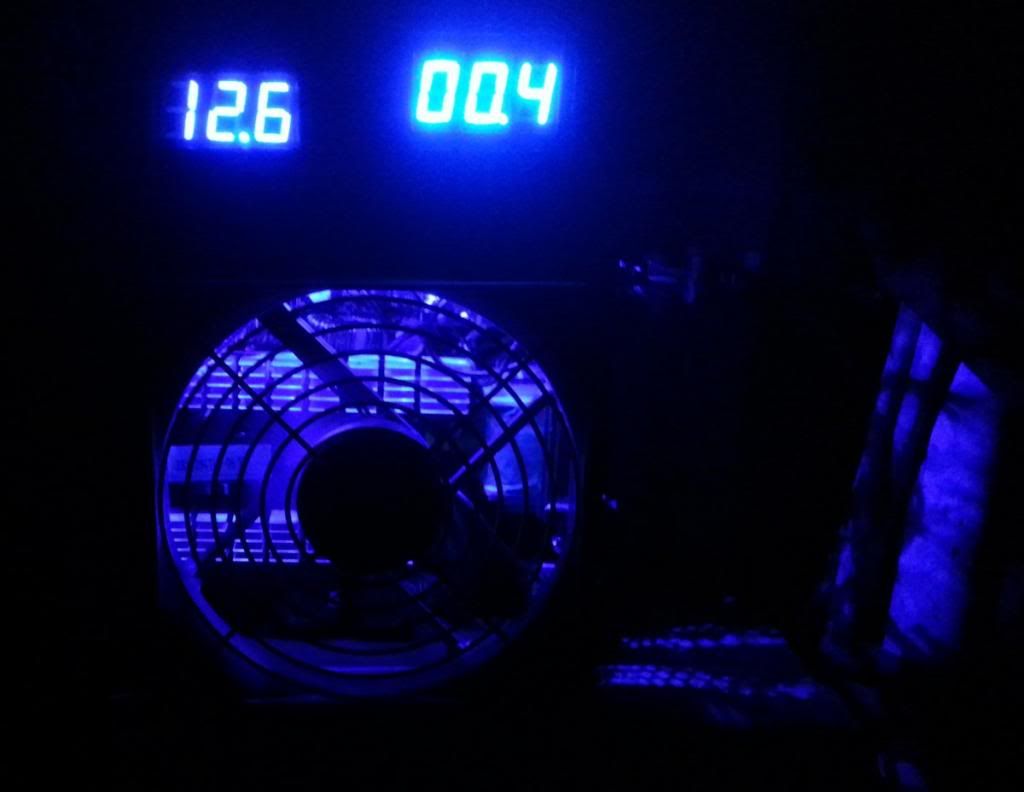
Here's some picks of my incredible machine.
I thought I'd throw together a quick tutorial on how to turn a computer power supply into a 12vDC power supply for a battery charger. While cheap power supplies can be obtained from ebay for 10 or 15 bucks, if you want much more than 7a then you have to buy a proper power supply. Computer power supplies can be a good alternative to this, particularly if you happen to have a spare one laying around. I purchased one specifically to power my Turnigy 400w battery charger, and it still worked out to be much cheaper than buying a suitable power supply from hobbyking which would cost $90 for item + postage. Also, if you're into electronics as a hobby it's a bit of fun too.
There are plenty of detailed tutorials and videos online so I won't go into to much detail, but I'll give a quick rundown of how to replicate what I've done.
The power supply I used was a cooler power gx700, they're on ebay for about $55 and . I'd recommend this one because i know it has functioning short circuit and overload protection, unlike the first PSU i tried this with that died when I drew too much power through it. The GX700 puts out 12v at 24a down each of it's two rails, so 48a in total. However, I've read that when you tie rails together you only get about 80% of the sum of the two inputs, so it should be good for up to about 38 amps, which it can put at at about 11.5v (voltage sags a bit under load) so that's about 430watts.
You start by connecting most of the yellow wires together (leave 2 or 3 spare) and that will serve as your 12v+ line (even though 6 wires is plenty to carry all the current you will need, you need to use the majority of them because your PSU will probably have multiple rails, and you want your power usage to be balanced over all of them to get the maximum output from your power supply).
Connect 6 black wires together (6 should be ample) and that will be your 12v negative line. Put whatever power connectors you prefer on them, banana are conventionally used for power supplies but I went with XT60s.
The main trick to turning a computer power supply into a functional battery charger power supply is knowing to put the 5v line under load as well. The power supply doesn't put out full power all the time, the power output is regulated by a microprocessor that detects how much current is being drawn down the 5v line. The more power gets drawn, the more it boots the power output. If you try drawing much more than a couple of amps from the 12v line with nothing hooked up the the 5v the psu gets overloaded and the voltage drops really low, giving you the low input voltage error message on your charger.
Many people get around this by putting a resistor or a light bulb on the 5v line, but I actually used an array of two 50w 1.5 ohm resistors to give me an adjustable power draw on the 5v line. This is the circuit diagram I used here:

When both switches are in the down position, the two resistors are connected in series, giving 3ohm resistance drawing 5v/3a=1.6a (8w) from the 5v line.
With one switch up, one resistor is connected directly to the 5v + and - terminals, giving 1.5ohms resistance drawing 5v/1.5=3.33a(16w) from the 5v line.
With both switches up, both resistors are connected directly to the 5v + and - terminals (in parallel), giving 0.75 ohms resistance drawing 5v/.75a=6.66amps (33w).
From the testing I did, I found .75ohms a good value to enable the PSU to get pretty close to maximum power output. Using two 1 ohm reistors may have been a better alternative for maximum power output, but I wanted to try to minimise how much power my unit would use if I left it on. Depending how much charge I'm drawing from it, I can adjust the switches to change the power draw on the 5v line and regulate the power output manually. I've even added a voltimeter and ampmeter I got off ebay so I can see what the power output is in real time. I haven't tried it yet, but since the PSU puts out the same voltage as a 3S battery I should be able to test my 3S planes with this PSU and get a readout of how many amps they're drawing.
There isn't much room inside the case with the fan in there, so you can move it to the outside to give you some spare room in there for the resistors. Of course, with my cool blue theme going and a readily available source of 12v power, I had to put one of my blue LED light strips in there as well, just to make it look awesome.
Here's some picks of my incredible machine.


