Post by bigtone on Sept 27, 2007 16:59:54 GMT 1
Sapac Pitts S-2A
I've seen this Pitts S-2A all over ebay and other sites for sale. Sapac makes the Pitts S-2A and Artech makes the Cox Christen Eagle, Parkflyers DaredDevil and Hobbylobby Pitts. The Sapac Pitts Seems to be the first model made because, the others have it's base structure. These aircraft come with small changes in airframe and powerplant.
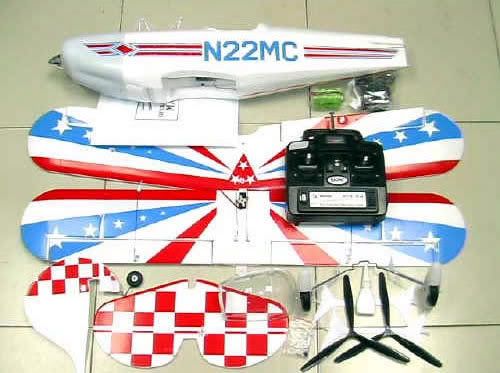

When I opened the box all the parts were neatly sealed in bubble wrap. After unloading the box of it many parts. I grabbed the instruction manual and this is were the fun began. This booklet was vary vague with small unfocused pictures. It was hard at times to match up the small parts with the pictures. The plane came with some type of Elmore's glue that was watered down. There will be some spare parts left over but, in case some are lost.
Airframe & Control Surfaces
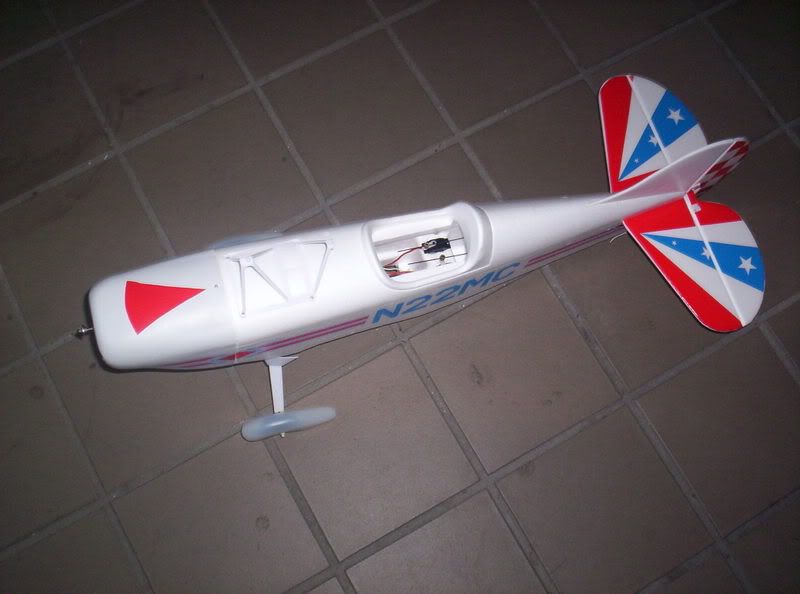
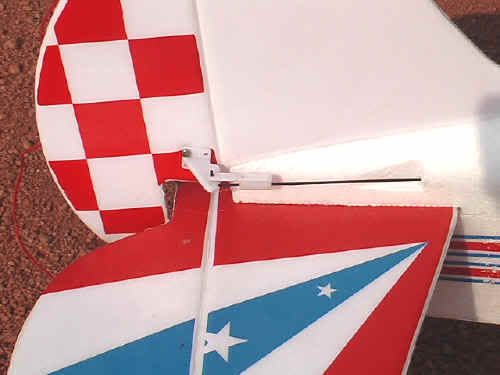
Grab the rudder and elevator for the next step. Add some glue to the contact points were the elevator side into the fuselage and do the same with the rudder. This will take some pressure so, be careful not to bend or brake the rudder. After pressing the rudder into the grove, hook the tailwheel shaft into place. Connect the pushrods on the outer hole and install the white clevis clamps. The pushrods are already attached to the servo arm locks. Hook the battery up and and center the trim tabs. After that, disconnect the battery and then shut off the radio. Use the supplied Allen key to tighten the pushrods into place.
Grab the bottom wing and hook it up into the top RX slot. Turn the radio on and center the trim tabs for the ailerons. Hook up the battery to the plane and grab the allen key. Unplug the battery to the plane, then turn off the radio. Unplug the wing for the RX and adjust the pushrods by hand. Make sure they are level and tighten the servo arm lock with the allen key. Before installing the top wing, grab the I joint and the little white oval washers. Make sure they are the one's with the two peg's on the bottom half. Place one on the wing hole opening, with the pegs facing down. Grab the wing's I joint's and place it in the bottom of the wing's hole opening. The oval washers are suppose to interlock with the I joint. If you push hard enough this will happen sooner or later. The opening of the opening of the washer is oval shaped. You must push them together hard and turn 1/4 after the tip comes threw the oval opening. After doing both sides of the top wing. Attach the bottom wing to the fuselage after plugging in the SRO. Simply slide the wing into place until the front clip of the wing is in place, grab a screw and screw the wing tab into place. Put the top wing on the fuselage mount brace. Place the washers on each screw and screw it down into the top wing until flush with brace. Now place the I joint point threw the bottom wing as done before on the top wing. After that, put the aileron control rods in place and put the clevis locks on. Place the landing gear and canopy on.

Maiden Flight stock
After doing all the pre-checks, I grabbed the plane so I could hand launch. I held the plane with my palm facing up, like a waiter with a big plate order. This plane is a crash waiting to happen with the stock battery setup. (see brushed powerplant) This flight ended in a power lacking mishap, aka crash. (see brakes and fixes)
Brushed Powerplant

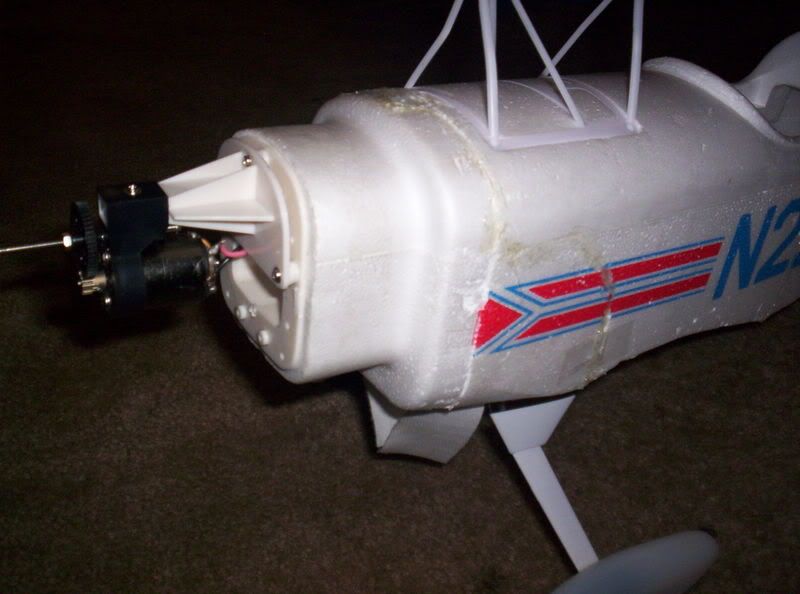
I was thinking from the start of what power plants, I could use. I knew that, the little 280ED with the 9.6v 800mah was way underpowered so, I decided to have some fun. I cut the little battery plug off the ESC. Then I attached a deans plug on so, I could use my old HZ/PZ Batteries. The power after using my 9.6v-10.8v 1000mah was like nite and day. Considering the stock setup was a crash waiting to happen. I knew that something was going to happen because, it was to good to be true. Soon after that thought, the plastic 14 tooth pinion gear gave out like the old PZ 480 did. There's nothing more sad then a freewheeling prop with WOT (wide open throttle) I know I was pushing it. But, I just had to try the GWS 10X8SF. The stock 3 blade 8X6 was nice also with the power upgrade. After the two plastic pinions died, I got a robinson racing 14t rc-18 mini pinion gear. This fits really good plus, it can be tighten with a allen key.
Brakes and fixes
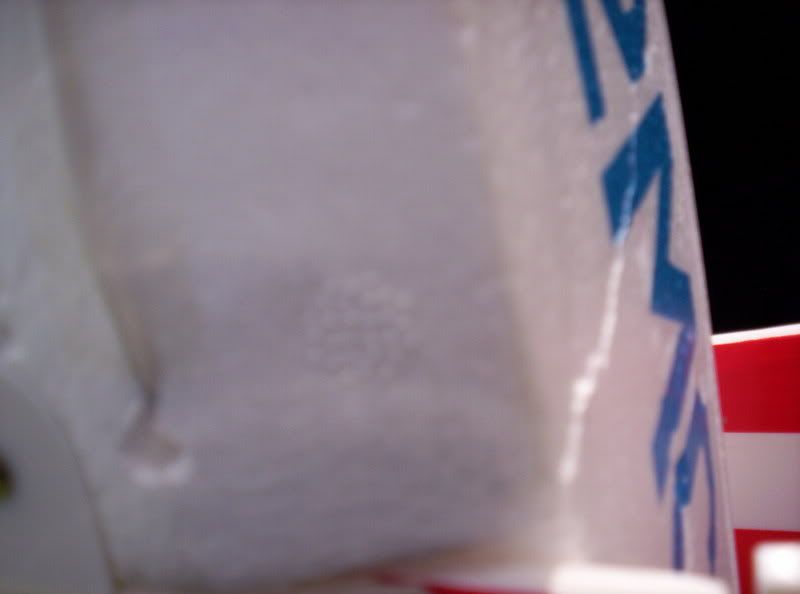
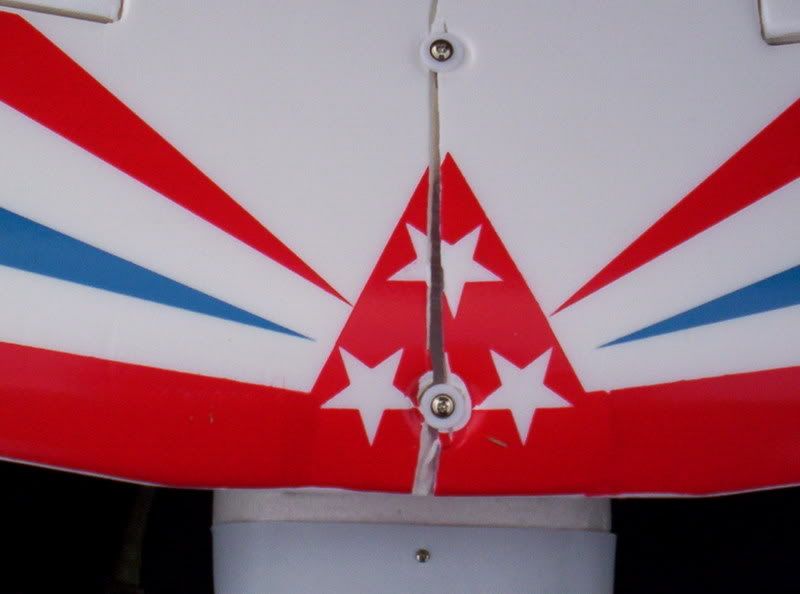
This plane is made out of that cooler type of styrofoam. I had a mishap and e-flite glue / kicker melted the foam a little. If you don't have a hotglue gun get one because, it will work great with reinforcements a weak areas. There are four weak spots on the fuselage, in the front and back of were the wing mounts up. If you crash with one wing low you can cause this damage. Those areas will split the fuselage upward and torward the thingypit. The other areas are pretty solid besides the wing. The front leading edge of the wing will need to be taped. The two screws will make this possible to split it when crashed with one wing low also.
Second Maiden battery upgrade
I tell you what, this plane needs this shot on the arm. The great thing is that it does almost all scale aerobatics with style. I'm sad to say this but, after this upgrade my super cub went into hibernation.

Package Include:
4 channels PCM radio system with receiver
Servo 3-9g servo
Motor:290ED Motor
*upgrade to 14t robinson racing rc-18 mini pinion gear
Battery:9.6v600mAh NiMh battery
*upgrade to 9.6-10.8v 1000mah for best stock power!
110V wall charger
english manual
Servo 3-9g servo
Motor:290ED Motor
*upgrade to 14t robinson racing rc-18 mini pinion gear
Battery:9.6v600mAh NiMh battery
*upgrade to 9.6-10.8v 1000mah for best stock power!
110V wall charger
english manual
Specifications:
Upper wingspan: 34.6"
Down wingspan: 33"
Fuselage overall length:31.1"
Weight:21.8oz
Wing loading:26g sq.dm.
Wing area:24 sq.dm.
Down wingspan: 33"
Fuselage overall length:31.1"
Weight:21.8oz
Wing loading:26g sq.dm.
Wing area:24 sq.dm.
Damage after Crash!
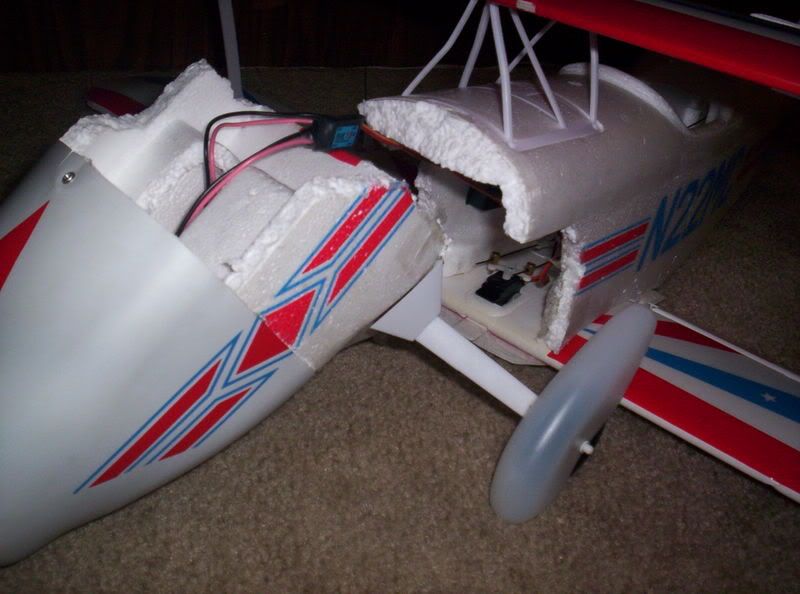
After damage was fixed with hotglue!
