|
|
Post by mrmugen on Aug 21, 2007 5:24:44 GMT 1
Well this is my first documented build so bear with me. I chose one of my favorite planes for this one. It is the AT-6 Texan. The kit is made by GWS. First off the kit was packed very well. It included everything needed to build it. I was suprised to see glue and balancing weight (clay) as well as a Y harness for the aileron servos. Those items are usually sold seperatley. I regret not thinking of this until the wing was assembled but here we go. The first step it to cut the ailerons out of the wings. I used a #11 blade to do all the cutting on this. All the hinged surfaces come molded into the wings with a deep depression at a 45 degree angle leaving about 1/16" of foam to cut. This is the surface you will cut your hinge slots in. All the hinged surfaces went together very easily after the ailerons were done. 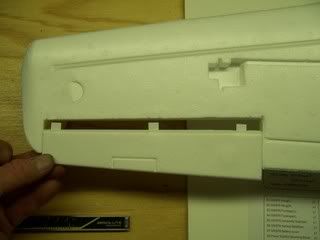 Gluing the wings together was a snap too. They had premolded pockets and studs to glue together. Then glue in the cf rods (3 of them) and whalla. 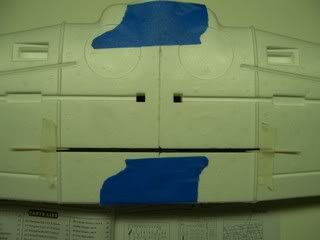 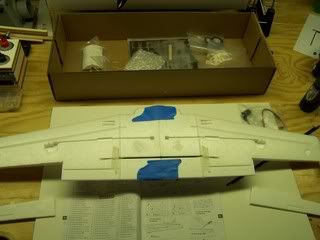 After all that is done I glued on the landing gear (which I had preassembled while waiting for glue to dry). I also glued the hardware for mounting the wing on at this time. They were very generous on the parts trees in this kit. They filled them completely. There is a ton of stuff not needed for this plane but 2 of them came in handy on other planes already. 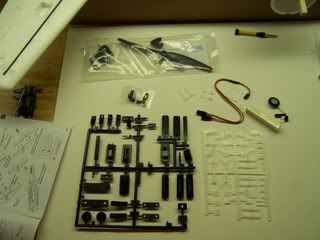 |
|
|
|
Post by mrmugen on Aug 21, 2007 5:43:04 GMT 1
Next was the fuselage. Installed the tubes for the pushrods and the nut for the wing bolt and glued it together. I used painters tape and rubber band to secure the 2 halves while drying overnight. I also glued in the firewall at this time. 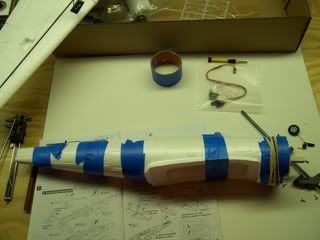 As well as the motor mount ...(in the wrong location.) More on that later. 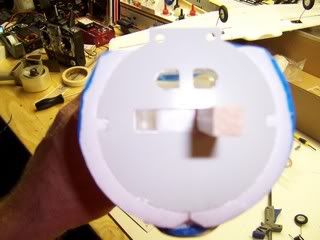 Next was the elevator and rudder assy's. They went very smooth. The directions are very clear in this kit. If you follow them it goes well. 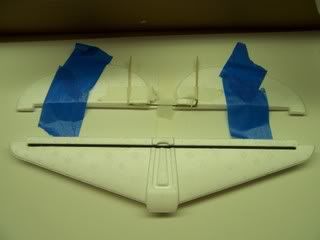 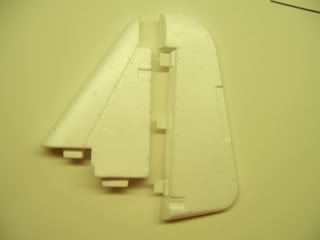 |
|
|
|
Post by mrmugen on Aug 21, 2007 5:56:51 GMT 1
Next it's time to glue the horizontal and vertical stabs on the fuse. It was very easy and went as planed. I used painters tape here as well. They plug in like a puzzle and are very firm once dry. 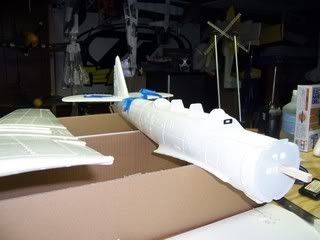 The tailwheel went on in this process as well. It also went smoothly. 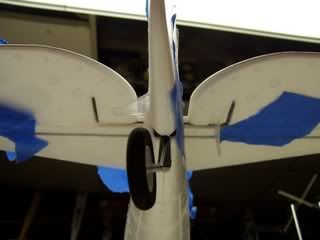 |
|
|
|
Post by mrmugen on Aug 21, 2007 6:21:24 GMT 1
The motor it came with is a brushless 2215 outrunner. The plugs that came on it were pretty cheesy so they were snipped and 3.5mm gold connectors were soldered on in a jiffy. 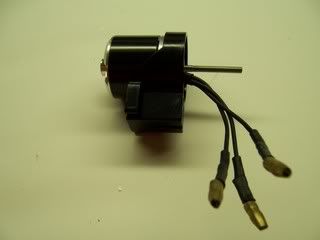 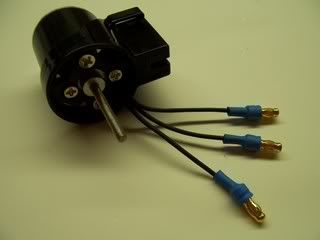 |
|
|
|
Post by BenziT on Aug 26, 2007 14:12:47 GMT 1
|
|
|
|
Post by mrmugen on Nov 22, 2007 6:14:54 GMT 1
I traded this plane off before I finished the build. Sorry to get anyones hopes up...lol. Kevin
|
|
hack73
Squadron leader
  
Posts: 154
|
Post by hack73 on Dec 12, 2007 19:47:12 GMT 1
|
|
hack73
Squadron leader
  
Posts: 154
|
Post by hack73 on Dec 16, 2007 0:46:04 GMT 1
This a nice review of the GWS T6 in the December 2007 (Issue 49) of Fly RC magazine. The author used the Red/Yellow brushless motor EP ARF kit. You can order a back issue of if you still can't find it in the stores: www.shop4rc.com/shopdisplayp...p?catalogid=171 |
|
|
|
Post by pvtzemerak on Jan 12, 2008 2:44:02 GMT 1
cool! nice job!
|
|