|
|
Post by Dillzio on Jul 12, 2010 9:49:06 GMT 1
I came across some material at the hardware store today that seems ideal for making my own tail, it's called fluteboard. It's very similar to cardboard but it's made out of plastic, I think signs, like real estate signs out the front of houses are commonly made of it. I've actually seen a delta wing plane once before that was made entirely out of fluteboard (although it was a pretty crap looking homemade job). I traced the outline of my tail onto it, and cut it out with a hobbyknife. You have to use a hobbyknife with a pointy tip to be able to follow all the curves accurately. I cut the two pieces out to size and weighed them to see if it's a viable substitute, and they weighed 32 grams. My stock tail, painted, with the plastic thingey attached weighed 36 grams, so they seem to be pretty comparable in weight. I still need to cut out the elevator and rudder, but I think I'll leave that for another day. I'll probably leave that until I'm either extremely bored, or after my current stock tail gets trashed. I've included a couple of pics, including a close up one so you can see exactly what it's made of. It's got plastic supports running inside it about 5mm apart, but apart from that it's hollow, you can look right down the channels and see out the other side. 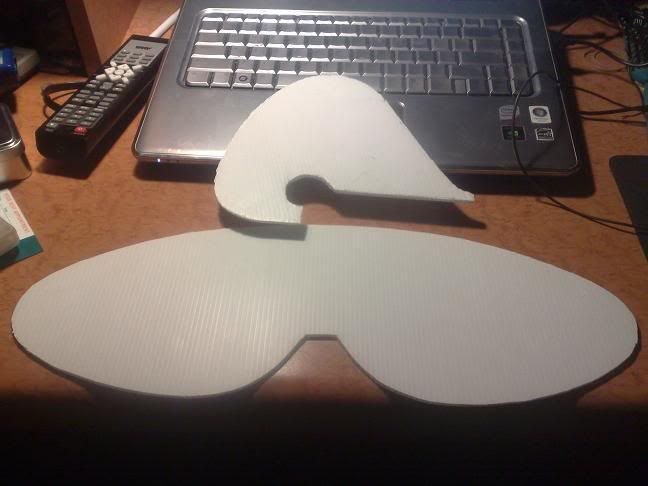 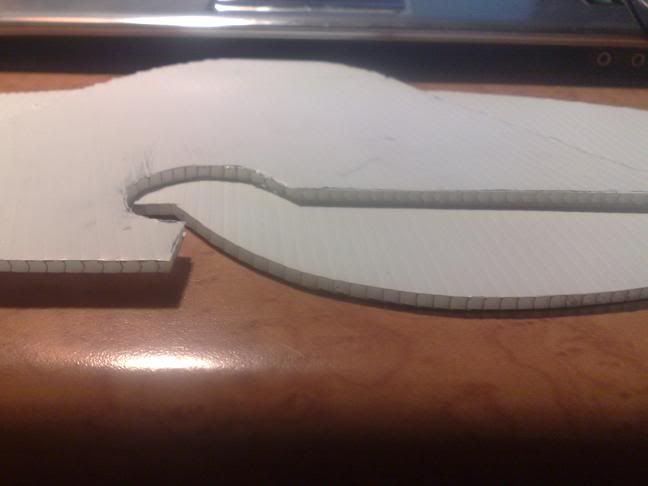 |
|
|
|
Post by flydiver on Jul 12, 2010 16:35:05 GMT 1
In the states we call it coroplast - corrugated plastic. If you had cut the elevator on the other grain direction then you can make a slit in 1/2 of the material and the other half becomes the elevator hinge. I suggest a bottom slit for a nicer look. The stuff can crease more easily parallel to the grain so the elevator would have been better cut that direction anyway. You can support/stiffen it with bamboo or carbon shoved into an channel if required. If you don't mind a slightly squished look you can cut it with sturdy sharp scissors for larger areas-still need an hobbyknife for fine work. The stuff is WAY tough and will take a lot more abuse than many foams but sometimes at a bit of a weight penalty. The 2mm is lighter but more flexible. I use it for winglets on my slopers-they get a lot of abuse. Here's a small garage operation that sells some of the coroplast tails. www.thexportzone.com/products.html |
|
|
|
Post by killioughtta on Jul 13, 2010 2:19:31 GMT 1
The above post is almost exactly what I was going to say so here it is in my own words:
We call that Coroplast in the states and it has been used for RC planes for over a decade. It's very strong and light and easy to find (here) on Yard sale and realty signs.
You should cut another horizontal stab with the grain in the other direction so that it's stronger and you can make elevators without cutting them of or hinging them (what flydiver said).
I made a nice air boat out of coroplast last year...
|
|
|
|
Post by ginginho on Jul 13, 2010 12:04:27 GMT 1
|
|
|
|
Post by Dillzio on Jul 13, 2010 12:33:57 GMT 1
Thanks for the tips guys. I have about another square meter or so laying around so i'll be sure to make another tail and implement your suggestions.
|
|
|
|
Post by happydog500 on Nov 7, 2010 6:34:17 GMT 1
I know I'm late on this thread. If I made a tail with this stuff, I'd make the elevators all the way across.
|
|
|
|
Post by higgsbosonman on Nov 7, 2010 15:15:48 GMT 1
or add vortex generators. they give you more control throw (they also reduce interference drag a bit, but it's hard to notice with such a small plane)
|
|
|
|
Post by mebillica on Nov 7, 2010 15:38:30 GMT 1
I too needed a new tail and found this thread VERY helpful!! I bought a 12" x 18" sheet of coroplast from Home Depot for $4. Very easy to cut and shape. Seems stronger than the original tail. Still have 2/3 of the sheet left for future projects/crashes! Thanks for the tip!! 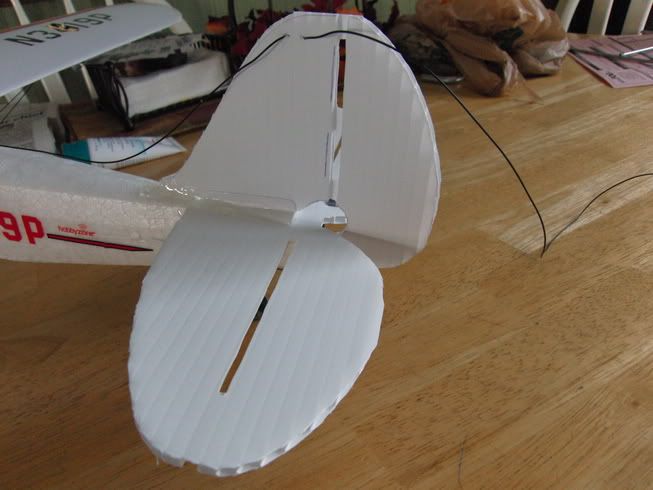 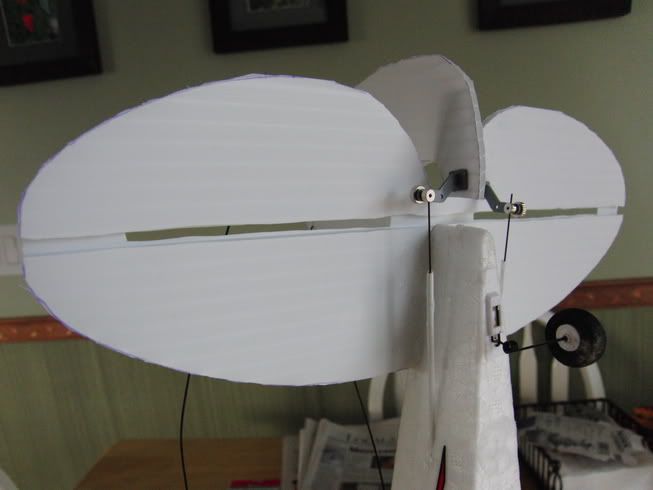 |
|
|
|
Post by flydiver on Nov 7, 2010 17:26:13 GMT 1
The stuff is heavier (I think) than the original tail feathers and at the end of a long lever so be sure to check CG and adjust if necessary.
|
|
|
|
Post by Dillzio on Nov 8, 2010 8:21:51 GMT 1
Lol, nicely done mate! Glad to see someone managed to put my idea into practice.
Have you flown with it yet and, if so, how did she go? Do you happen to have some scales so you can weigh your creation?
|
|
|
|
Post by leisureshoot on Nov 8, 2010 16:20:07 GMT 1
The stuff is heavier (I think) than the original tail feathers and at the end of a long lever so be sure to check CG and adjust if necessary. This would seem like a very important issue, since the SC tends to go tail-heavy when you start modifying it. |
|
|
|
Post by mebillica on Nov 9, 2010 1:38:31 GMT 1
Unfortunately I haven't had the chance to fly with it yet. I think the ESC/Receiver/Servo board fried. When I plugged the battery in, the motor went NUTS with power!! Usually doesn't do anything, just the servos twitch. I quickly unplugged it, then noticed a certain "Burnt Electronic" smell. Took the wing off, and didn't see any problems. But now I get nothing when I plug the battery in. Tried a different battery, same nothingness. I read online here about testing the motor with "D" batteries. That worked fine, so the motor is fine. I got a little discouraged, so I decided to do an ENTIRE upgrade. Spent a couple hours reading up on the forums for Brushless systems yesterday. Ordered a bunch of stuff, hopefully I will get it in and running in a week or two.
As far as the weight, with a battery installed I was at 9.63 ounces for the entire Cub. It is a mini-cub mind you. The COG seemed ok with the new tail. Still over the middle of the wing, towards the front.
I am a little bummed that I didn't get to test the tail. I thought it came out great! Seriously, I think it is waaaay better than the stock tail. We'll find out soon hopefully!
|
|
|
|
Post by flydiver on Nov 9, 2010 5:03:29 GMT 1
Super Cub > a major cause of upgrading.
|
|
|
|
Post by higgsbosonman on Nov 9, 2010 23:03:36 GMT 1
i knew that tail wheel looked a little wierd...
and the push rods.
|
|
|
|
Post by Dillzio on Dec 16, 2010 5:56:53 GMT 1
Here's the pic's from the tail I made  These are the two tail pieces I made. I traced around the original tail, but did half the tracing, then moved the template up about 5mm to continue the tracing, so the tail has come out slightly over-sized. To get a good paint job on it, first I roughed it up a bit by hand sanding it with some 180 grit sand paper so that the paint would stick well. Then i gave it a coat of grey primer, then hit it with the black paint, left it a day to dry, and then gave it a light coat of clear sealer (Wattyl Estapol - satin). 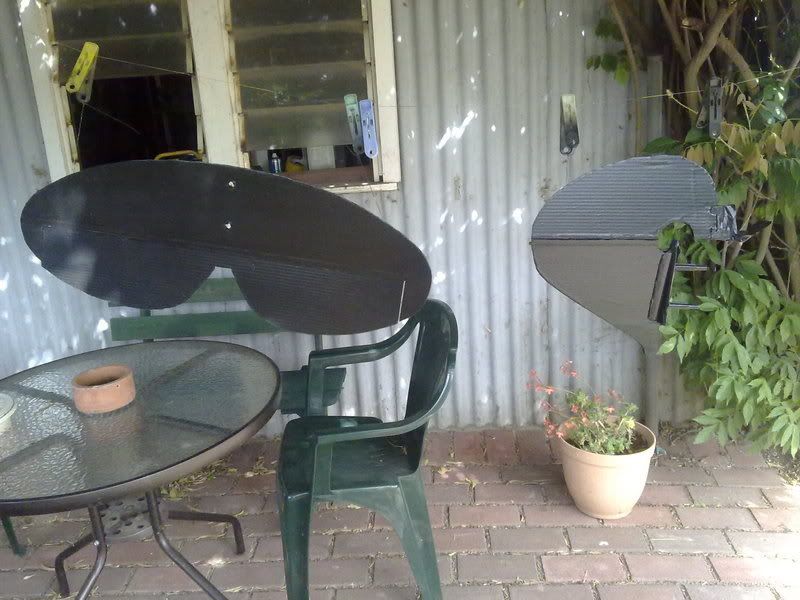 It came out a bit floppy in places, so I reinforced it with some CF. With the rods I got, they're such a tight fit you don't even need to glue them in. I got a hollow (4mm I think) rod that slit right down the channels in the fluteboard/correx, and got some 2mm solid CF rods that could go at 90 degrees to the channels. I just had to poke a hole through the sheeting for the 2mm CF to go into and it fits in beautifully. This picture shows where I've put the CF. 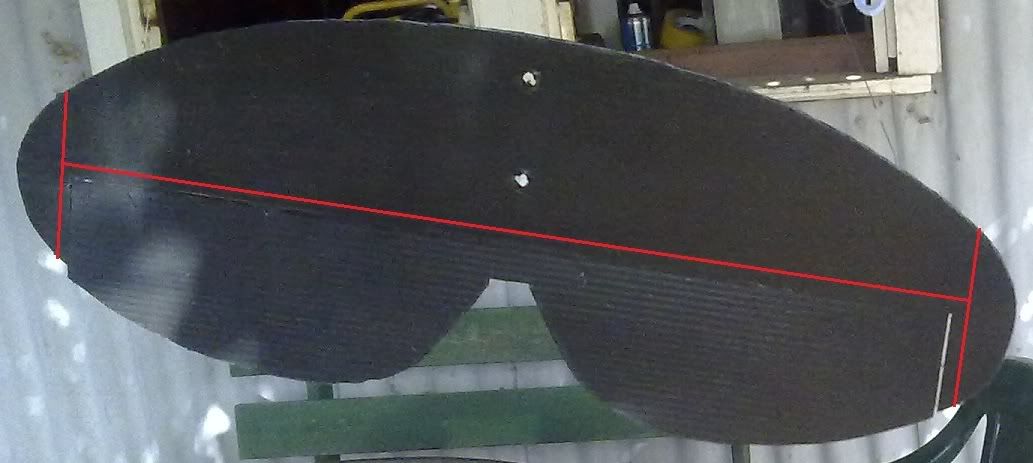 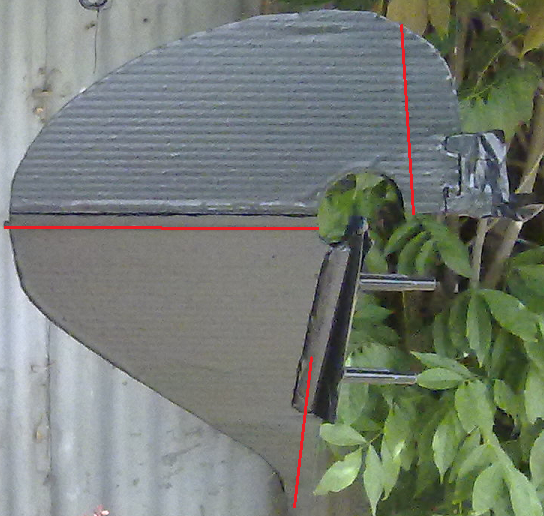 This is the finished product, with the solarfilm stickers on it. It's WAY stronger than the original, but a bit heavier too (moved my CG back 10mm) so i've had to move my GPS to right on the nose to balance it out. 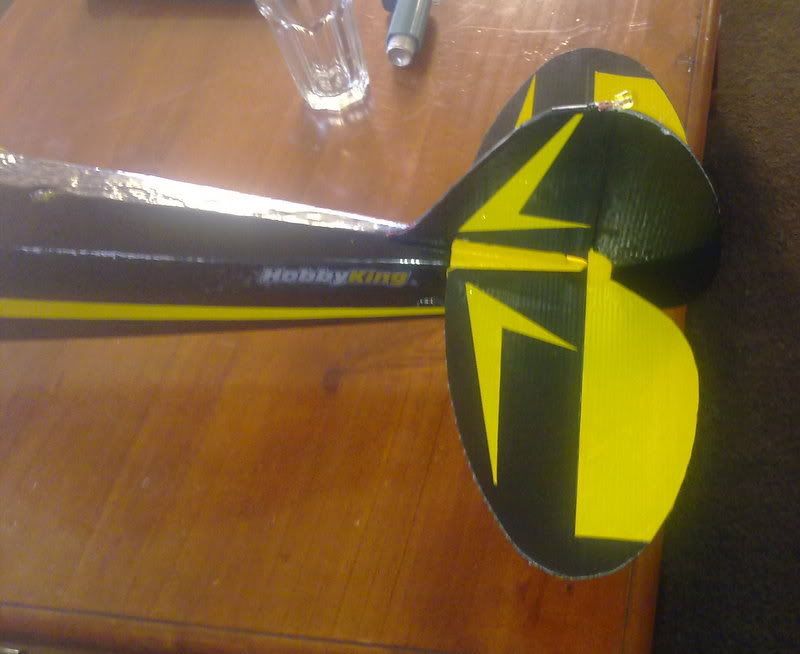 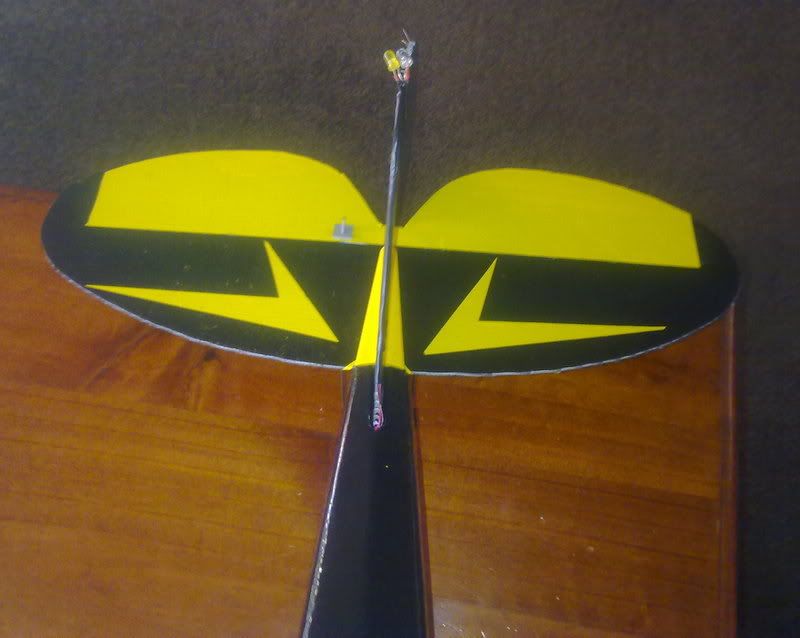 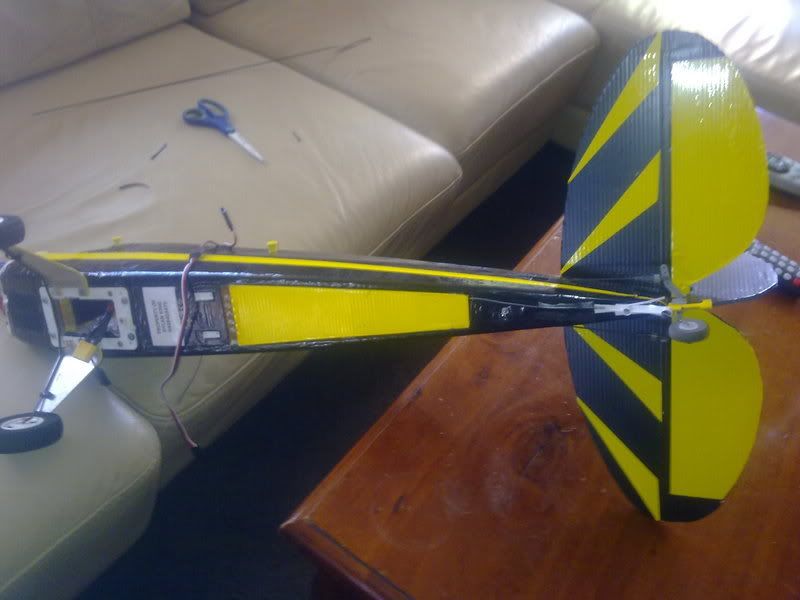 I think my cub is now worthy of being called "Bumblebee" ;D |
|